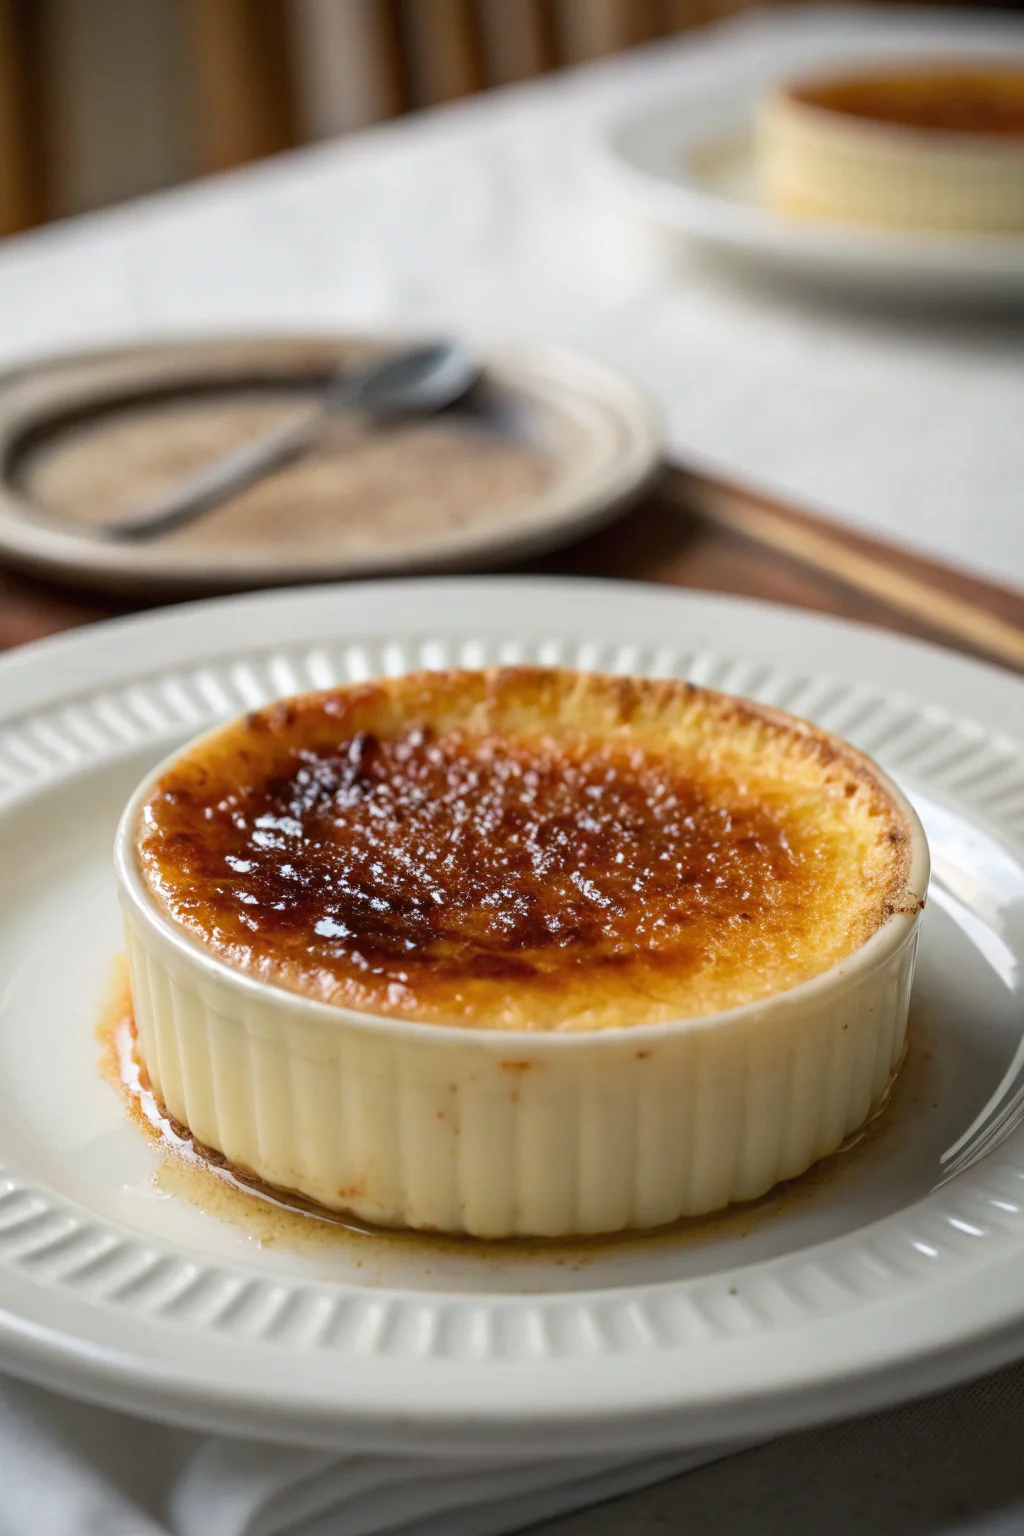
Crème brûlée is a classic dessert known for its creamy custard base and a perfectly caramelized sugar topping. Caramelizing the sugar to achieve that signature crackly top might seem daunting, but with the right technique, it’s quite simple. This guide will walk you through the process, ensuring your crème brûlée is not only delicious but also visually stunning.
What Tools Do I Need to Caramelize Crème Brûlée?
To caramelize crème brûlée effectively, you’ll need:
A kitchen torch: This is the most common tool used. It allows for precise control over the caramelization process. The torch should have an adjustable flame to control the intensity and breadth, ensuring the sugar caramelizes evenly without burning. You can find kitchen torches at most kitchenware stores or online. They come in various sizes and fuel types, so choose one that fits comfortably in your hand for better control.
Sugar: Granulated white sugar works best for a smooth caramel layer. It’s important to choose sugar that isn’t too coarse, as finer sugar melts more uniformly. Always store your sugar in a dry place to prevent clumping, which can hinder even caramelization.
Spoon: For evenly spreading the sugar over the custard. A small spoon or a sugar shaker can help distribute the sugar more evenly. A sugar shaker can particularly help in achieving an even layer without any clumps, which is crucial for uniform caramelization.
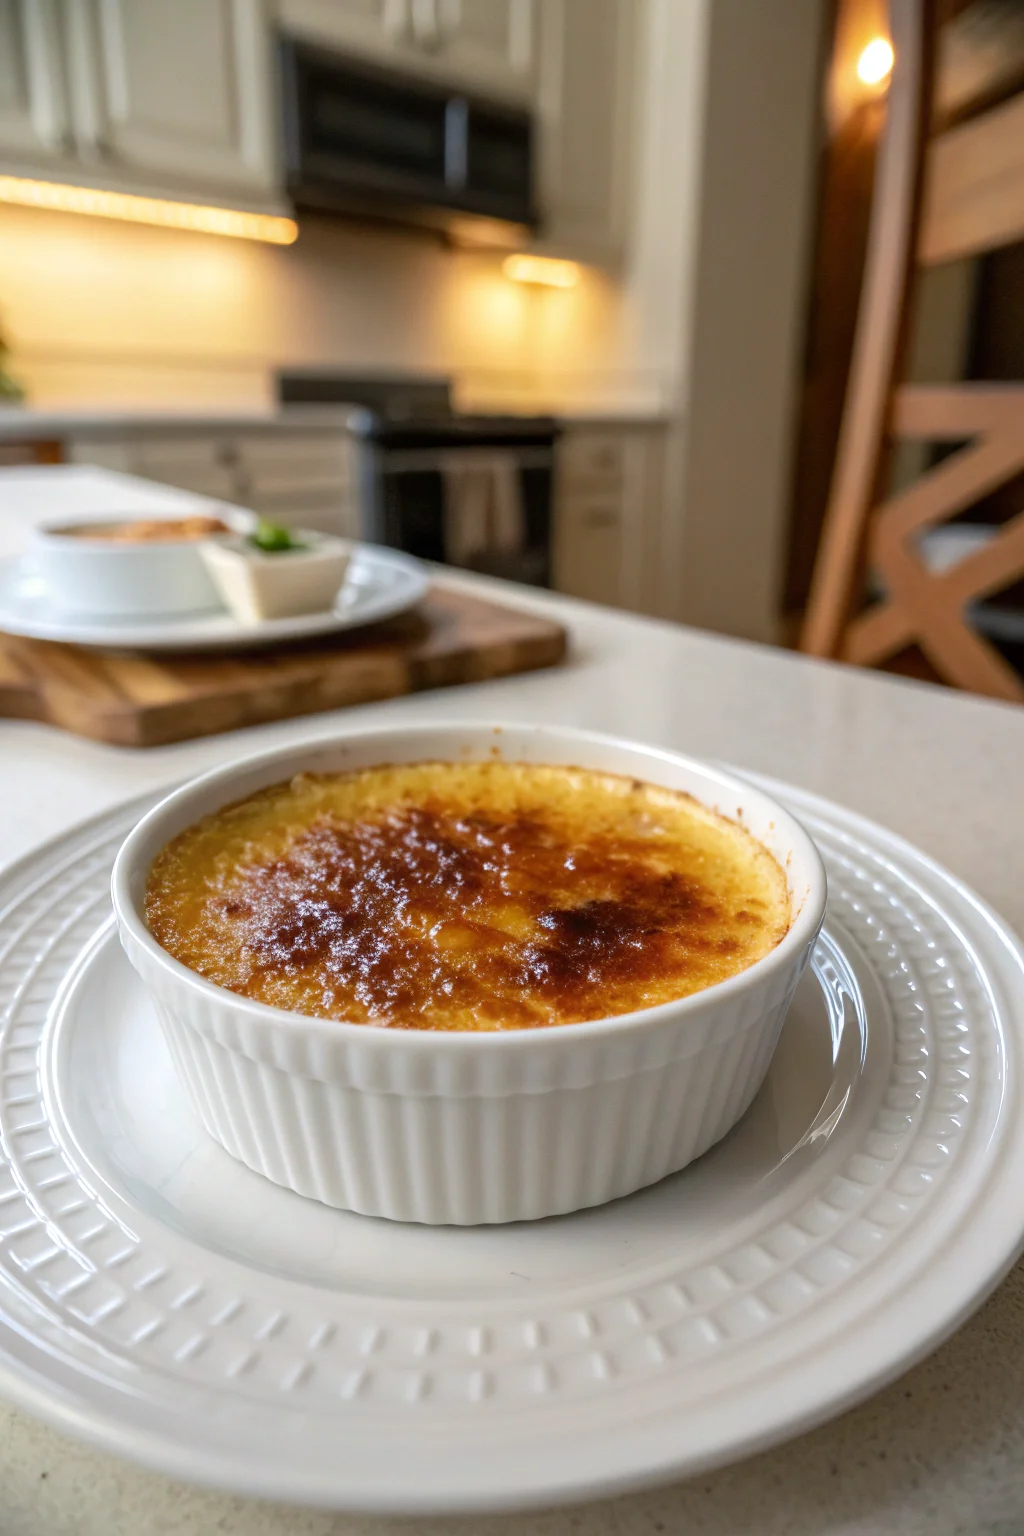
Ramekins: Small dishes to hold the crème brûlée. Ceramic ramekins are ideal as they conduct and retain heat well, ensuring the custard sets perfectly. Ensure your ramekins are oven-safe and of uniform size for consistent cooking.
You might find kitchen torches at most kitchenware stores, or consider buying one online. Some people use a broiler, but that’s less precise and can heat the custard unevenly, which may compromise the texture of your dessert.
How Do I Prepare the Sugar for Caramelizing?
Proper preparation of the sugar is crucial:
Choose the right sugar: Use granulated sugar for an even melt. Avoid brown sugar, as it can clump and burn, resulting in an unpleasant texture and taste. If your granulated sugar has clumped, sift it through a fine-mesh sieve to ensure a smooth, even layer.
Measure carefully: Use about 1 teaspoon of sugar per ramekin. This ensures a thin and even layer that will caramelize beautifully. Consistency is key here, so try using a measuring spoon to ensure uniformity across all ramekins.
Spread evenly: Sprinkle the sugar evenly over the surface of the custard to ensure uniform caramelization. You might want to gently shake the ramekin back and forth to distribute the sugar evenly without disturbing the custard. If you find it difficult to spread evenly, use a small offset spatula to help level the sugar.
A fine layer ensures that the sugar melts and caramelizes uniformly without burning. Consider sifting the sugar if it appears clumpy to ensure even distribution.
What Are the Steps to Torch the Sugar?
Here’s a simple step-by-step guide:
Hold the torch 2-3 inches away: This prevents the sugar from burning too quickly. Holding it at the right distance ensures you have control over how quickly the sugar melts and caramelizes. Adjust your grip on the torch to maintain a steady hand, which helps in achieving even caramelization.
Move the torch in circles: Focus on one area until it starts to melt and then move to another, ensuring even coverage. This technique helps prevent hot spots, which can lead to uneven caramelization. Practice on a sugar-covered plate first to get comfortable with the motion.
Watch the color: Aim for a golden-brown hue, which signals perfect caramelization. As the sugar melts, it will bubble and then start to change color—watch closely to avoid burning. The moment you see a light amber hue, it’s time to move the torch to prevent over-caramelization.
Keep the torch moving to avoid burning any one spot. It’s a delicate balance between melting the sugar and achieving that perfect golden hue without scorching.
Can I Use a Broiler Instead of a Torch?
Yes, but with caution:
Preheat the broiler: Ensure it’s hot before placing your ramekins inside. A preheated broiler provides a more consistent heat, which is crucial for even caramelization. Consider setting the broiler to high and letting it heat for at least 5 minutes before use.
Place ramekins on a baking sheet: This makes it easier to handle and helps in distributing heat evenly across the ramekins. Lining the baking sheet with foil can also help in reflecting heat evenly onto the ramekins.
Monitor closely: Sugar can go from perfect to burnt quickly under a broiler. Keep a vigilant eye and be ready to remove the ramekins as soon as the sugar turns a golden brown. It may help to keep the oven door slightly ajar for better visibility.
A broiler is less precise than a torch and can heat the custard, potentially altering its texture. If using a broiler, place the ramekins as high up as possible without touching the broiler, and be prepared to rotate them if necessary for even coloring.
How Long Should I Torch the Sugar?
Timing is key:
Torching time: Usually about 1-2 minutes per ramekin, depending on the torch’s intensity and the distance maintained. If using a less powerful torch, you might need slightly longer, but always watch the color closely.
Visual cues: Look for the sugar to bubble and turn a light amber color. The sugar will first liquefy and then slowly turn golden brown, which is your cue to stop. If you’re unsure, test by lightly tapping the surface with a spoon for the desired crunch.
Avoid over-torching to prevent a bitter taste and burnt sugar. If you’re unsure, err on the side of caution and torch a bit less rather than more.
Should I Let the Sugar Cool Before Serving?
Absolutely:
Cooling time: Allow the caramel to set for about 5 minutes. This gives the sugar time to harden, forming that desirable crackling top. Use this time to prepare any garnishes or additional toppings you might want to add.
Test the top: It should be hard and crack when tapped lightly with the back of a spoon, confirming it has set properly. Listen for a crisp snapping sound, which indicates it’s ready.
This brief cooling time also ensures the custard remains cool and creamy beneath the caramel. Serving too soon can result in a less satisfying texture contrast.
What Mistakes Should I Avoid While Caramelizing?
Here are common pitfalls:
Using too much sugar: This can lead to an uneven, thick caramel layer that is difficult to crack and overly sweet. Stick to the recommended 1 teaspoon per ramekin for best results.
Holding the torch too close: This can burn the sugar, resulting in a bitter taste. Maintain a safe distance of 2-3 inches and adjust as needed based on your torch’s intensity.
Rushing: Caramelization requires patience for the perfect result. Take your time to ensure even melting and coloring. If you’re new to using a torch, practice on a small dish of sugar to get a feel for the tool’s heat and speed.
Practice and patience are key to mastering crème brûlée caramelization. If you’re new to using a torch, practice on a small dish of sugar to get a feel for the tool’s heat and speed.
How Thick Should the Caramel Layer Be?
Aim for a thin, crisp layer:
Sugar measurement: About 1 teaspoon per ramekin ensures a thin, even layer that will caramelize uniformly. If you prefer a thinner layer, slightly reduce the sugar, but ensure it’s still evenly spread.
Evenness: A thin, consistent layer ensures it melts and caramelizes uniformly. If necessary, use a rotating motion with the ramekin to spread the sugar evenly before caramelizing.
Too thick a layer can make it hard to crack and too sweet, overshadowing the delicate custard beneath. If necessary, use a rotating motion with the ramekin to spread the sugar evenly before caramelizing.
What Type of Sugar Is Best for Caramelizing?
The best choice:
Granulated white sugar: It melts evenly and caramelizes beautifully, providing a smooth, glass-like finish that cracks perfectly. This sugar type is also readily available and cost-effective, making it a practical choice for home cooks.
Avoid alternatives: Such as brown sugar or powdered sugar, which can burn or clump, leading to uneven caramelization and a less desirable flavor.
Granulated sugar provides the best texture and flavor for the caramelized top, ensuring a satisfying crack and taste.
How Do I Achieve the Perfect Crunchy Top?
For the ideal texture:
Even sugar distribution: Ensures uniform caramelization and a consistent crunch. A sugar shaker or fine-mesh sieve can help achieve this even distribution.
Correct torching technique: Keep the torch moving for even color and avoid concentrating the heat in one spot. If using a broiler, rotate the ramekins for consistent caramelization.
The perfect caramel layer should crack with a satisfying snap when tapped with a spoon, revealing the creamy custard underneath. This textural contrast is one of the hallmarks of a well-executed crème brûlée.
Can I Make Crème Brûlée Ahead of Time?
Yes, here’s how:
Prepare custard in advance: Make and chill the custard up to 2 days ahead. This allows the flavors to meld and the custard to set properly. Cover the ramekins with plastic wrap to prevent a skin from forming on the surface.
Caramelize just before serving: This ensures the top remains crunchy and fresh, providing the best textural contrast to the creamy custard.
Storing the custard separately from the caramelized sugar maintains its texture and flavor. Keep the custard covered in the refrigerator to prevent it from absorbing other flavors.
What if My Sugar Burns?
If it happens:
Scrape off burnt sugar: Carefully remove the burnt layer using a small knife or spoon without disturbing the custard beneath. Use a gentle hand to avoid damaging the set custard.
Reapply sugar and torch again: Being more cautious with torch placement and timing. Lower the torch’s intensity or increase the distance slightly to prevent re-burning.
Burnt sugar tastes bitter, so it’s best to start over if this occurs. With practice, you’ll develop an eye for the sugar’s color change, which will help avoid burning.
How Can I Add Flavor to the Caramelized Top?
Enhance your brûlée:
Infused sugar: Mix a pinch of cinnamon or a hint of vanilla bean seeds into the sugar before caramelizing. This can add a subtle aromatic layer to the dessert. Experiment with different spices like cardamom or nutmeg for unique twists.
Finish with sea salt: A light sprinkle of flaky sea salt post-caramelization adds depth and balances the sweetness. This technique can be particularly appealing for those who enjoy sweet and salty combinations.
Flavored sugar can elevate the complexity of the dessert, making it more sophisticated and intriguing. Experiment with different spices or even a touch of citrus zest for variety.
Wrap-Up
Caramelizing crème brûlée might seem intimidating, but with practice, you’ll achieve that perfect golden crust every time. Remember to use the right tools, follow the steps closely, and be patient. The reward is a delightful dessert that impresses both in taste and appearance. If you’re looking to expand your dessert skills further, check our guide to making chocolate soufflé or explore French patisserie techniques for more inspiration. For additional tips and tricks, you might find these expert pastry tips helpful.
Enjoy your perfectly caramelized crème brûlée!