Welcome to our comprehensive guide on rolling sourdough for the perfect sandwich bread! Whether you’re an experienced baker or just getting started, mastering the art of rolling sourdough can make all the difference in achieving that ideal loaf. In this guide, we’ll answer your most pressing questions and share expert tips to help you bake delicious, fluffy sandwich bread.
What Ingredients Do I Need for Sourdough Sandwich Bread?
To make sourdough sandwich bread, gather the following ingredients:
- Sourdough starter: Active and bubbly, ready for baking. Ensure it has been fed recently for optimal activity. A well-fed starter is crucial for a good rise and flavor development in your bread. If your starter has been neglected, plan to feed it at least twice before use.
- Flour: All-purpose or bread flour works best. All-purpose flour is versatile, providing a softer texture, while bread flour, with its higher protein content, helps develop a chewier crumb. You might find that combining flours gives the best of both worlds—a tender crumb with a sturdy structure.
- Water: Preferably filtered or distilled to avoid any impurities that might affect the fermentation process. Tap water can sometimes contain chlorine, which can inhibit yeast activity.
- Salt: Enhances flavor and strengthens gluten, integral for structure. Without salt, your bread can be bland and the gluten weaker, resulting in a less structured loaf.
- Sugar or honey: Optional, but it can add a touch of sweetness and contribute to the browning of the crust. If you prefer a slightly sweet loaf, honey can add depth of flavor and moisture retention.
- Oil or butter: Adds richness and softness, resulting in a tender crumb. Butter gives a richer flavor, whereas oil can make the bread lighter.
These basics will set you up for a successful baking session. You can also experiment with whole grains or seeds for added texture. Adding seeds like sunflower or flax can introduce a delightful crunch and additional nutrients. Whole grains can add a nutty flavor and increase the fiber content of your bread.
How Do I Prepare My Sourdough Starter?
Ensure your sourdough starter is active and bubbly before using it in your dough:
- Feed your starter: Mix equal parts flour and water with your starter. This refreshes the starter and gets it bubbling with life. The ratio can be adjusted to be thicker or thinner depending on your preference, but equal parts by weight is a good starting point.
- Let it sit: Allow it to sit at room temperature until it doubles in size, which can take anywhere from 4 to 12 hours depending on the temperature and the strength of your starter. Warmer environments speed up the process, while cooler ones slow it down.
- Check readiness: The starter should be bubbly and have a slightly sour aroma. A ripe starter will also float if a small amount is dropped into a glass of water. This “float test” is a quick way to check if your starter is ready to use.
For more on maintaining your starter, check our guide on Sourdough Starter Care. Regular feeding and discarding help maintain a strong and healthy starter. If you’re planning to bake regularly, consider maintaining a schedule for feeding your starter to keep it active.
What’s the Best Flour for Sourdough Bread?
Choosing the right flour is crucial:
- Bread flour: High protein content aids gluten development, resulting in a chewy texture. This is ideal if you prefer a structure that holds up well to sandwiches. The strong gluten network also helps trap the gases produced by the yeast and bacteria during fermentation.
- All-purpose flour: More versatile and works well for softer bread, which is great for those who like a tender bite. This flour can be a good base for beginners due to its forgiving nature.
- Whole wheat flour: Adds flavor but can make the bread denser; balance with white flour to maintain a light texture. The bran in whole wheat flour can cut through gluten strands, so mixing it with white flour can help maintain structure.
Experiment with blends to find your preferred texture. Some bakers enjoy a 50/50 mix of whole wheat and white flour for a balance of flavor and lightness. Learn more about flour types in our Flour Guide. Consider trying spelt or rye flours for unique flavors and textures.
How Do I Mix and Knead the Dough?
Mixing and kneading are key steps:
- Combine ingredients: Mix flour, water, starter, and salt until a shaggy dough forms. At this stage, it should look rough and not fully cohesive. Don’t worry about achieving a smooth dough just yet, as the autolyse will help.
- Autolyse: Let the dough rest for 20-30 minutes to hydrate. This step allows the flour to absorb water, making the dough easier to handle and improving gluten development. The autolyse also begins the process of enzymatic activity, which enhances flavor.
- Knead: Use the stretch and fold method. Stretch the dough and fold it over itself. Repeat every 30 minutes for 2 hours. This gentle method minimizes oxidation, preserving flavor and color. As you stretch and fold, you’ll notice the dough becoming more elastic and easier to work with.
This process builds gluten strength and develops flavor. The dough should become smoother and more elastic with each set of stretches and folds. If the dough feels sticky, wet your hands slightly to prevent sticking without adding extra flour.
How Long Should the Dough Ferment?
Fermentation is crucial for flavor and texture:
- Bulk fermentation: Let the dough rise at room temperature until it doubles in size (4-6 hours). This time can vary based on room temperature; warmer environments will speed up fermentation. During this time, the yeast and bacteria are producing gases and acids, contributing to the bread’s flavor and texture.
- Cold fermentation: Optionally, refrigerate the dough for 12-24 hours to enhance flavor. This slower fermentation allows for a more complex flavor profile and can improve the dough’s workability. The cold will slow down fermentation, giving the yeast and bacteria more time to develop flavor.
Optimal fermentation times may vary based on room temperature and dough hydration. Watch for signs like increased volume and bubbles forming on the surface of the dough. If your kitchen is warm, consider shortening the bulk fermentation to prevent overproofing.
How Do I Shape the Dough for Sandwich Bread?
Shaping ensures an even crumb:
- Pre-shape: Gently form the dough into a ball and let it rest for 15 minutes. This helps relax the gluten and makes final shaping easier. Resting allows the dough to become less sticky and more manageable.
- Final shape: Flatten the dough into a rectangle, then roll it tightly from one end to the other. The tension created during rolling is crucial for the dough to rise evenly. Aim for even thickness to ensure uniform rising.
- Seal the seam: Pinch the seam closed to maintain shape during baking. You can also tuck the ends under for a neater appearance.
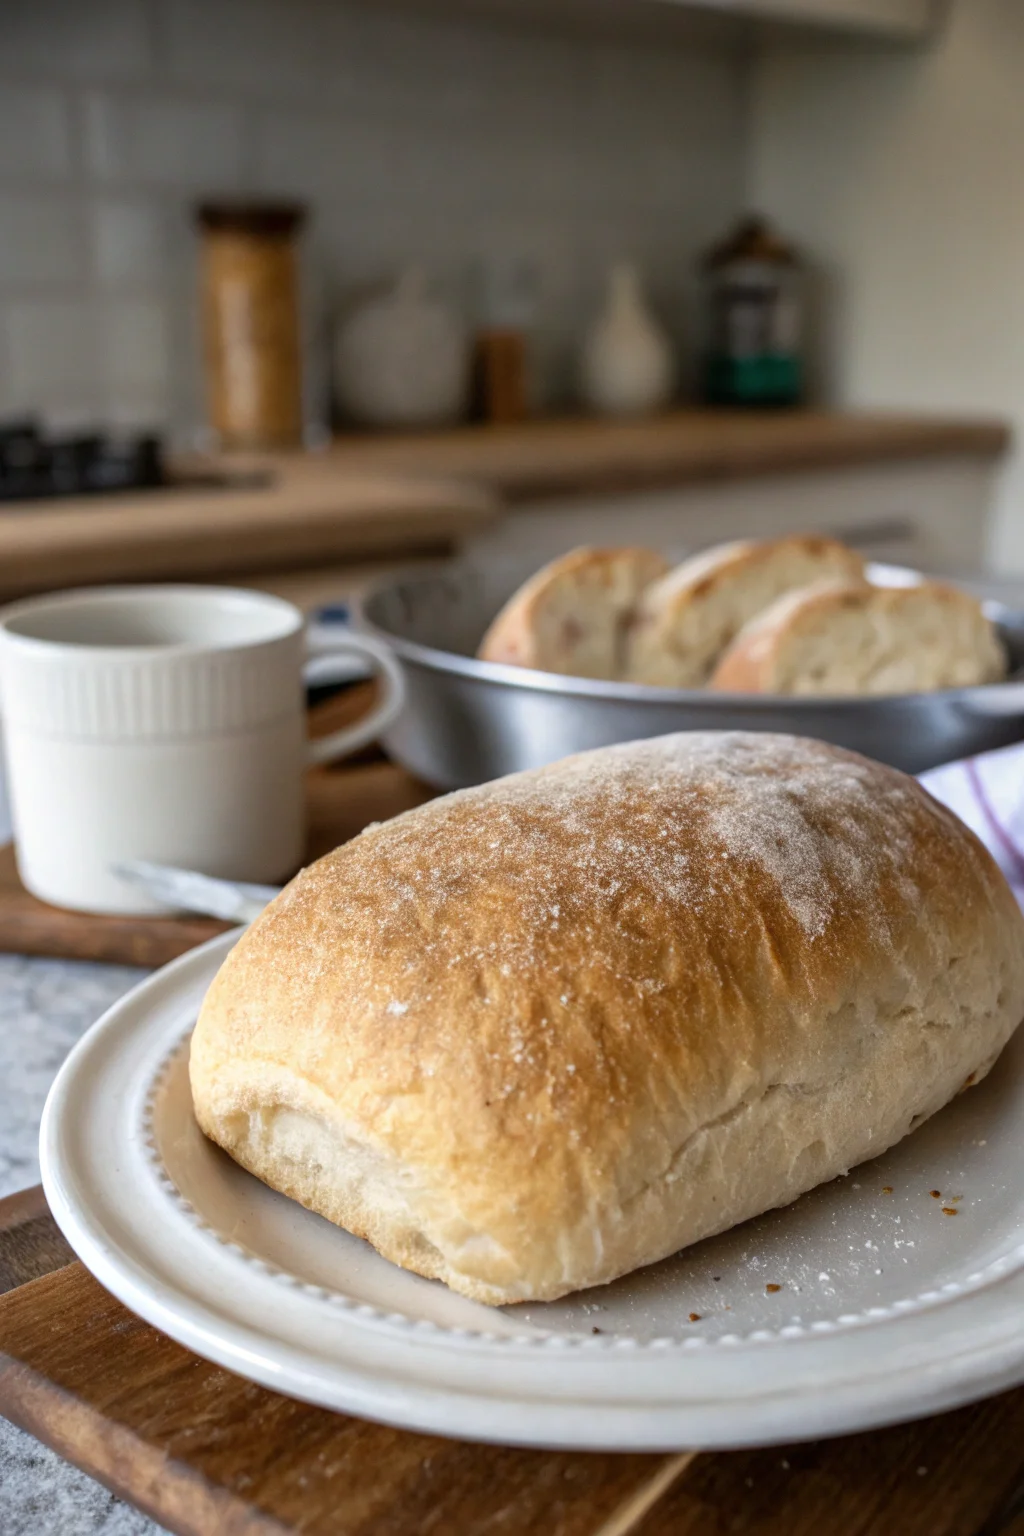
This technique creates a uniform loaf, perfect for slicing. If desired, you can also tuck the ends underneath to create a more compact loaf. Ensure even tension throughout the loaf to avoid weak spots that can lead to uneven baking.
What Type of Pan Should I Use?
Choosing the right pan affects your bread’s outcome:
- Standard loaf pan: Ideal for sandwich bread, providing a uniform shape. It’s the go-to choice for many home bakers. These pans are widely available and work well for most bread recipes.
- Pullman loaf pan: Creates a perfectly square loaf, great for sandwiches. This pan is particularly useful if you prefer a more consistent crumb and shape. The lid helps maintain shape and encourages even baking.
Ensure the pan is well-greased to prevent sticking. For more on baking equipment, visit King Arthur Baking. Silicone pans can also be a good non-stick option. Greasing the pan with butter can add extra flavor to the crust.
How Do I Score the Dough?
Scoring allows the bread to expand:
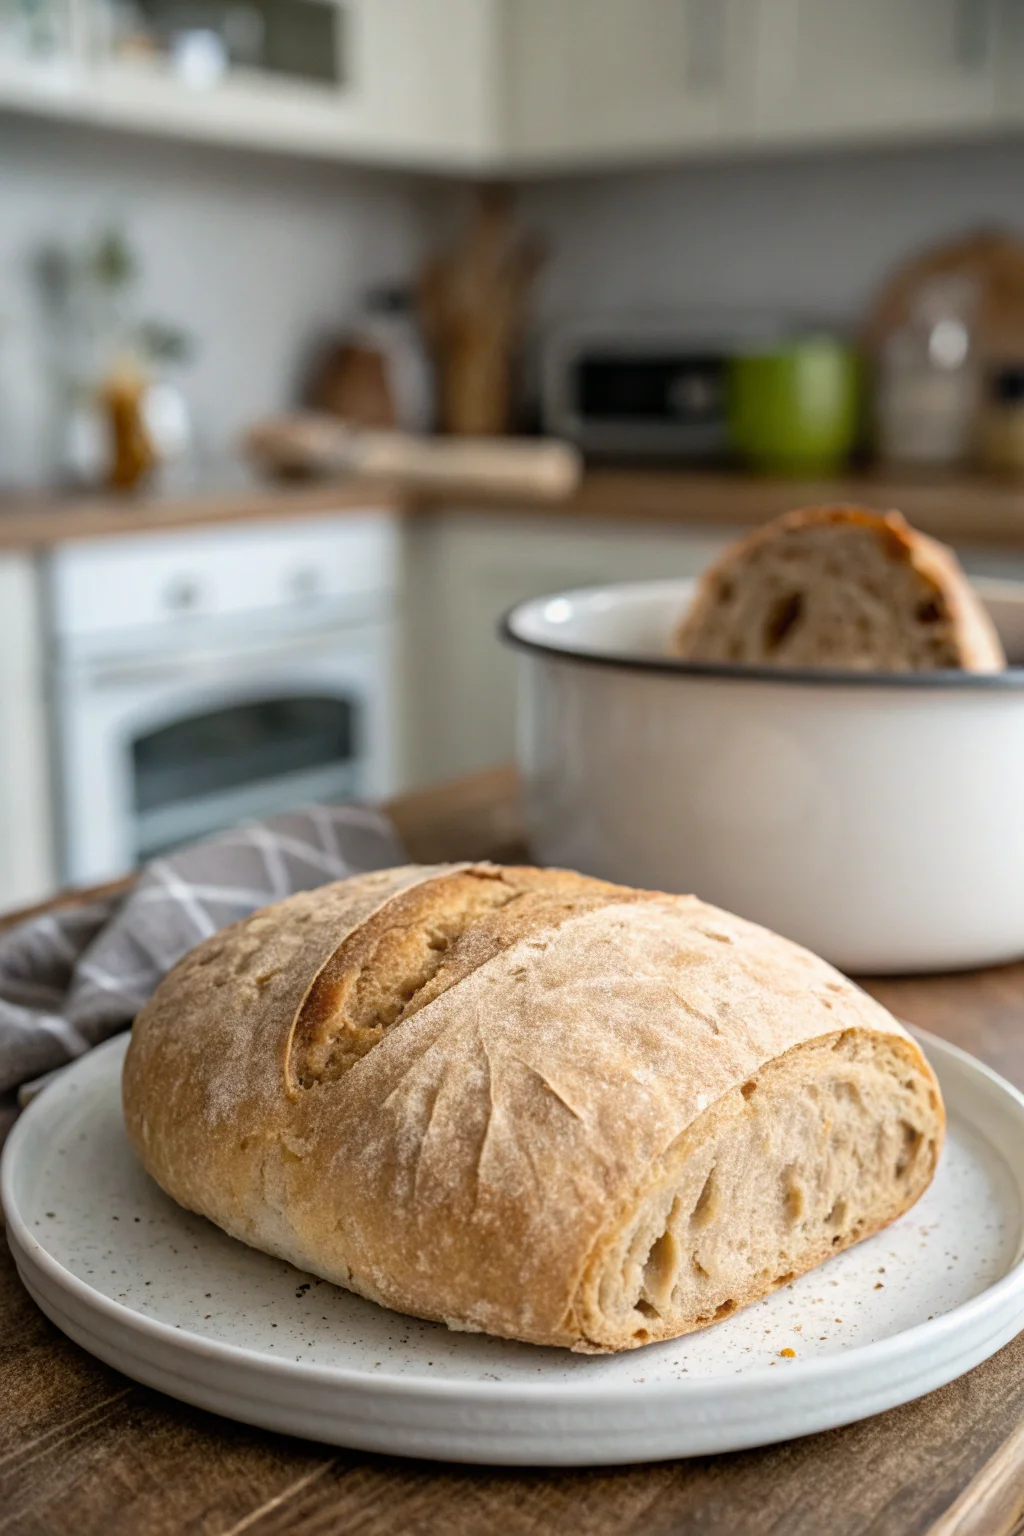
- Use a sharp blade: A lame or sharp knife works well. Scoring is not just functional but can be decorative, adding to the bread’s visual appeal. A dull blade can drag through the dough, leading to uneven scores.
- Score lightly: Make shallow cuts to control the loaf’s expansion. Too deep and you risk deflation; too shallow and it might not open properly. Experiment with different patterns for a unique touch.
Scoring enhances both the appearance and texture of your bread. Practice different scoring patterns to add a personal touch. Classic patterns include single slashes, criss-cross, or even intricate designs.
What’s the Ideal Baking Temperature and Time?
Proper baking ensures a perfect loaf:
- Preheat the oven: Set to 375°F (190°C) for even cooking. A well-preheated oven ensures the loaf rises properly and develops a good crust. Use an oven thermometer to confirm the temperature, as many ovens can be off by a few degrees.
- Bake time: 35-45 minutes, until the crust is golden brown and the loaf sounds hollow when tapped. If using a Pullman pan, you might need to adjust the time slightly. If unsure, check the internal temperature—it should read around 190°F (88°C).
Adjust times based on your oven’s performance. An oven thermometer can help ensure accuracy. Consider rotating the loaf midway through baking for even browning.
How Can I Ensure a Soft Crumb?
For a soft, tender crumb:
- Use a higher hydration dough: More water results in a softer texture. Adjust slowly, as too much water can make the dough difficult to handle. Start with a slightly sticky dough and use wet hands to manage it.
- Add fats: Incorporate oil or butter into the dough. These ingredients not only enrich the dough but also help retain moisture. Butter adds a rich flavor, while oil can make the dough more pliable.
- Avoid overbaking: Check internal temperature; it should be around 190°F (88°C). Use a digital thermometer for accuracy. Overbaked bread can become dry, so keep a close eye during the final minutes.
These tips ensure a sliceable, soft loaf perfect for sandwiches. Consider adding milk or buttermilk for additional softness and flavor. These dairy products can also enhance the crust’s color.
How Do I Store Sourdough Sandwich Bread?
Keep your bread fresh:
- Room temperature: Store in a bread box or wrapped in a towel for up to 3 days. This method maintains the crust’s texture and prevents staleness. Avoid plastic wrap, which can make the crust soggy.
- Freezing: Slice and freeze in airtight bags for up to 3 months. This way, you can easily thaw just the amount you need. Consider wrapping slices in parchment paper before placing them in the bag to prevent sticking.
Avoid refrigeration as it can dry out the bread. Read our Bread Storage Tips for more insights. When defrosting, let the bread come to room temperature in its wrapping to prevent moisture loss. To refresh the crust, pop the loaf in the oven for a few minutes.
How Can I Customize My Sourdough Sandwich Bread?
Get creative with your bread:
- Add-ins: Incorporate nuts, seeds, or dried fruits. Walnuts, pecans, or dried cranberries can add delightful bursts of flavor and texture. Toast nuts before adding them for extra flavor.
- Flavors: Try herbs or spices like rosemary or cinnamon. These can be mixed into the dough or sprinkled on top before baking for a fragrant loaf. For a savory twist, consider adding cheese or garlic.
Customization lets you tailor the bread to your taste preferences. You might also consider cheese or garlic for savory variations. Experiment with different combinations to discover new favorite flavors.
Conclusion
Rolling sourdough for the perfect sandwich bread involves a few key steps, but with practice, you’ll master the technique. Remember to experiment with different flours, shapes, and flavors to suit your taste. For more baking tips and recipes, explore our Baking Section or visit The Perfect Loaf. Happy baking!