Okay, picture this: It’s a rainy Saturday afternoon, the kind where the sky looks like it’s been through a black-and-white Instagram filter. My niece, Ava, is over, and she’s bouncing around the living room like she’s had a double espresso. But she’s six, so that’s probably not the case. Anyway, I’m thinking, “What on Earth can we do that doesn’t involve glitter or watching Frozen for the 78th time?” Then it hits me—salt dough! A brilliant, messy, and creative way to keep her entertained without the risk of glitter-infused chaos.
Why You’ll Love This Recipe
So why should you dive into the wild world of salt dough with me? Well, let me count the ways:
- Kid-Friendly: Seriously, it’s so simple even a kid could do it. In fact, that’s kind of the point.
- Creative Outlet: You can make anything from ornaments to tiny sculptures. Your imagination is the only limit—or maybe your patience.
- Cheap and Cheerful: It’s basically flour, salt, and water. You might have these in your pantry right now, unless you’re like me and forgot to buy flour…again.
- Non-Perishable Creations: Once baked, these creations last forever—or until your cat decides they’re his new favorite toy.
- Paint and Decorate: After they’re baked, the real fun begins. Paint them, glitter them (if you must), or just marvel at your creation.
A Little Story Time: That Time I Made This Cake…
Alright, gather ’round, folks. This isn’t about cake. But it’s good. So, this one time, not too long ago, I decided to make salt dough with Ava. We were aiming for Christmas ornaments. Her favorite color is purple, so we envisioned purple stars and hearts. Sounds cute, right? We mixed the ingredients, but somehow, we ended up with what I can only describe as the exact texture of a wet sponge. Turns out, I forgot to measure the water. Oops.
Ava, ever the optimist, just squished her fingers in and declared it “gooey fun.” We eventually sorted it out, but not before the kitchen floor looked like a flour bomb went off. And the dog, Sparky, got a little too curious and ended up with a flour-dusted nose. He looked like a canine version of Santa Claus. Classic.
What You’ll Need (And My Thoughts On…): Ingredients
- 1 cup flour (all-purpose): Basic, right? But make sure it’s not self-raising flour. Trust me. You don’t want puffy dough ornaments.
- 1/2 cup salt: Regular table salt works. I’ve once used sea salt—by accident—because I was too lazy to go to the store. It was…crunchy.
- 1/4 to 1/2 cup lukewarm water: Go slow here. It’s like making a new friend—add a little at a time, see how it feels.
Let’s Bake Together: Making Your “salt dough recipe”
Here’s where the magic happens. Or chaos. Sometimes both.
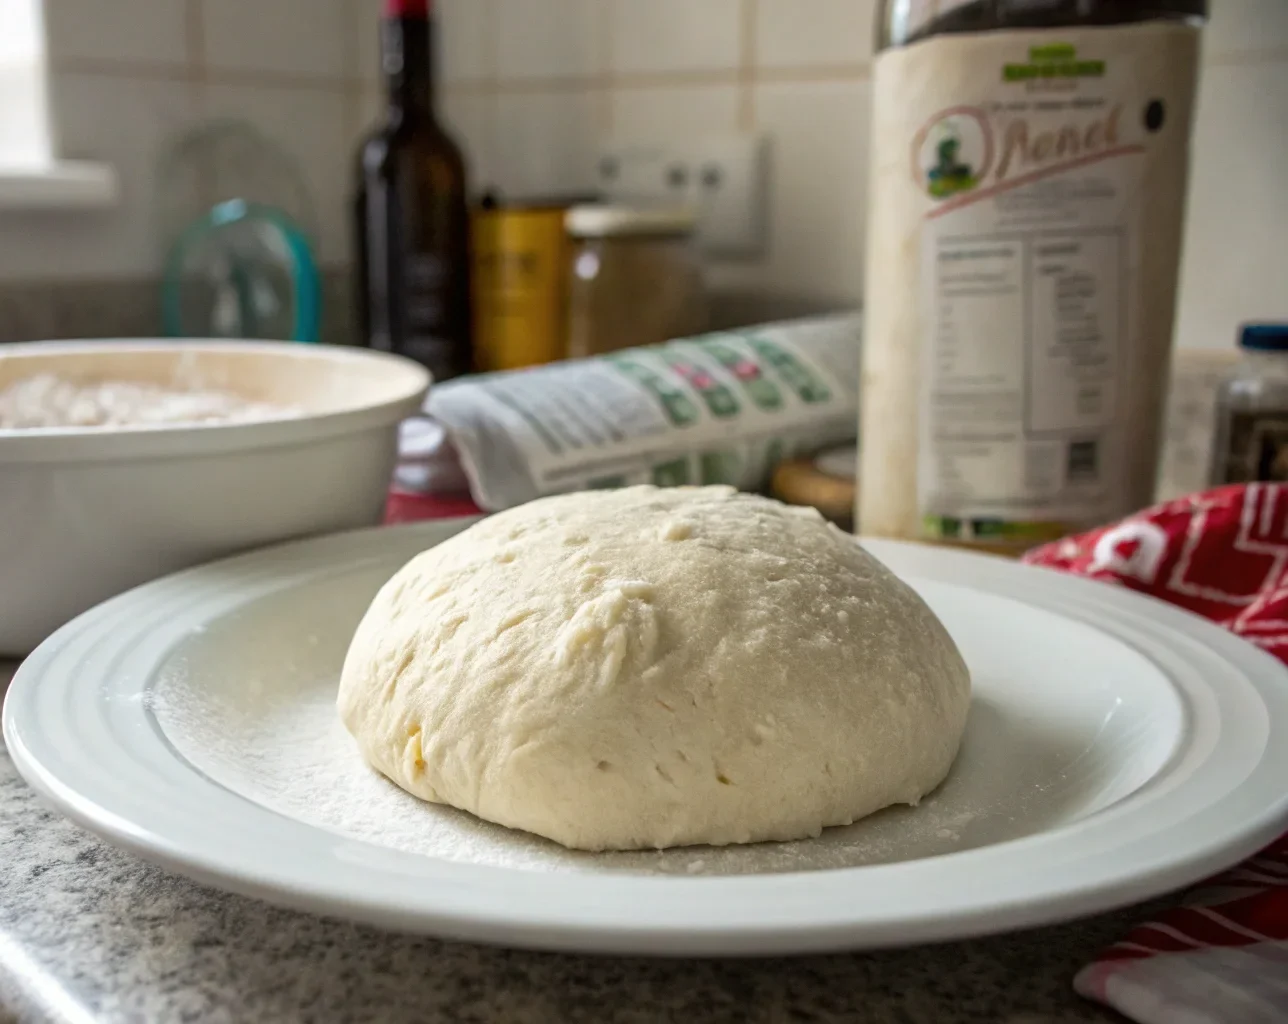
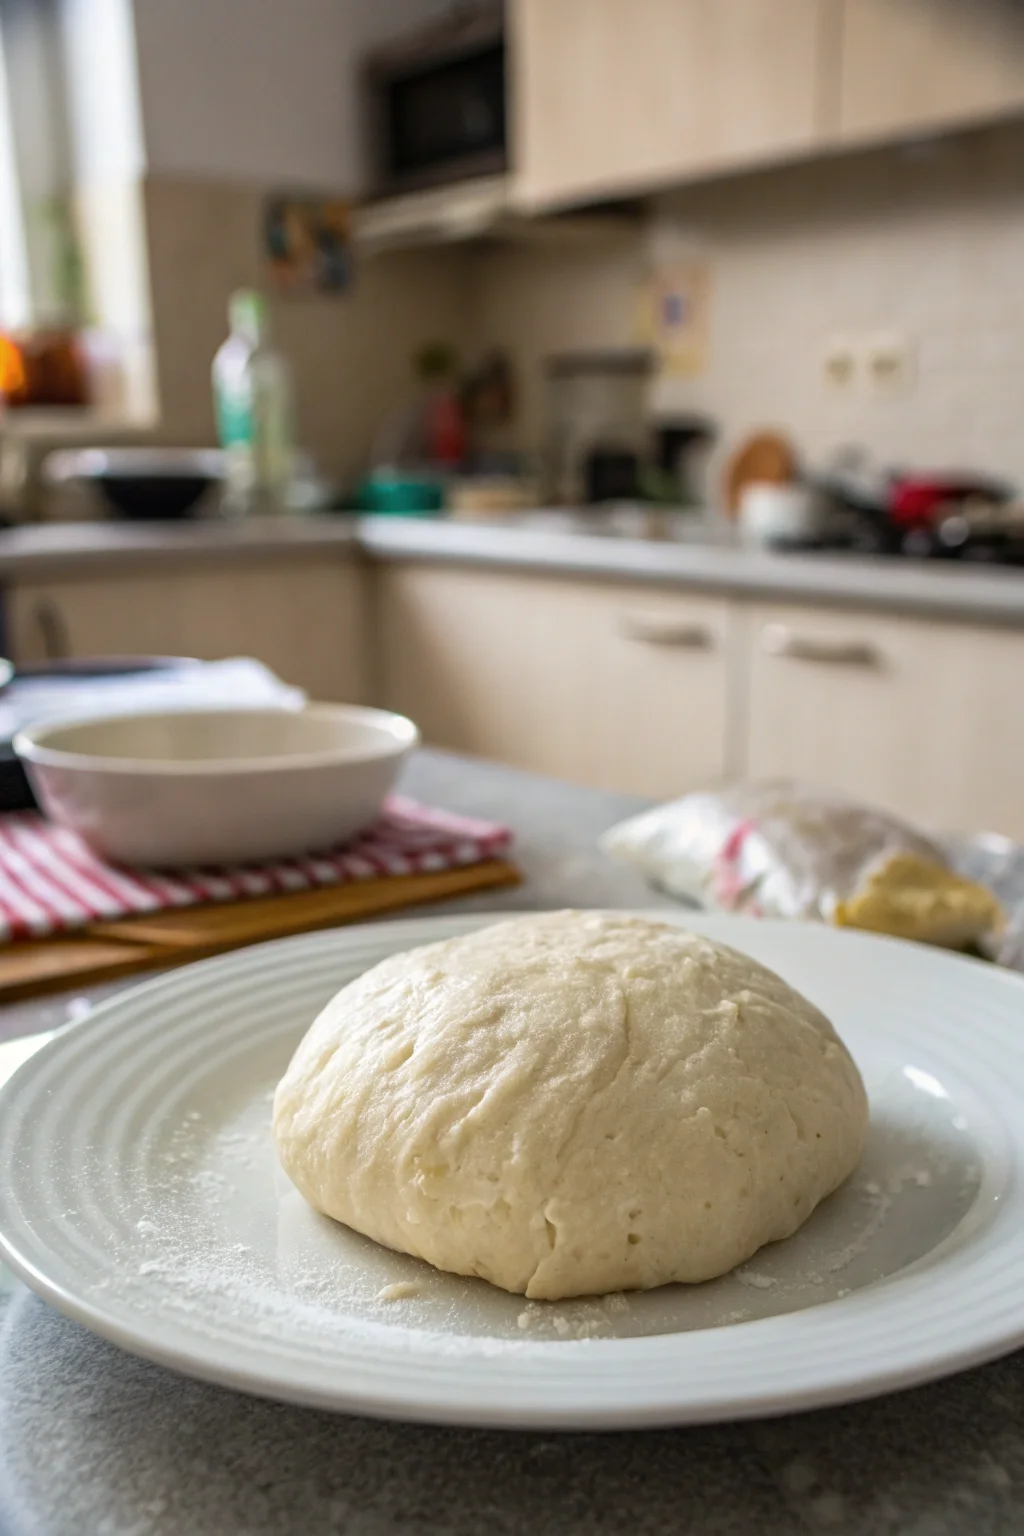
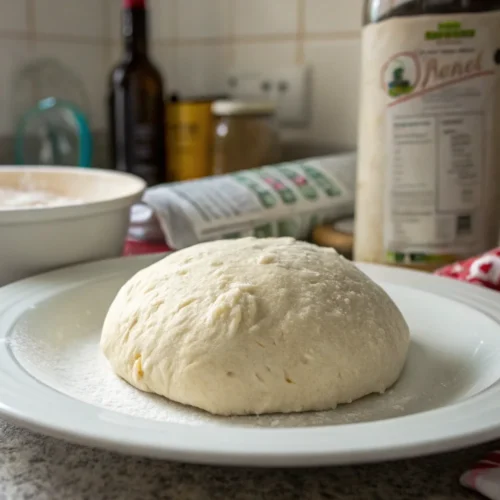
Mix the dry stuff: In a large bowl, mix together the flour and salt. Easy peasy.
Add water slowly: Seriously, sloooowly. Like a snail on vacay. Stir and mix until it holds together.
Knead it out: Knead the dough for about 10 minutes. Or until your arms feel like you’ve had a full workout. It should feel smooth and not sticky.
Roll it out: To about 1/4 inch thickness. I once went too thick, and they turned into salt dough bricks. Not ideal.
Shape your dreams: Use cookie cutters or your imagination. Ava made a blob and called it “modern art.
Bake it: Preheat your oven to 200 degrees F (100 degrees C). Bake for an hour, flip, bake another hour. Check! If it’s not hard, go another round.
Melania’s Little Secrets (Things I’ve Learned)
- Go easy on water: I know, I keep harping on about this. But really, less is more.
- Use parchment paper: Saves your sanity during cleanup.
- Poke a hole: If making ornaments, don’t forget to poke a hole for hanging before baking. I used a straw, which totally works.
- Check mid-bake: Sometimes they puff up like tiny dough pillows. Just press them down gently.
- Paint post-bake: Wait till they’re cool to avoid a melty mess. Patience is a virtue here.
Fancy Trying Something Different? Variations
- Cinnamon Scented: Add a teaspoon of cinnamon to the mix. Smells divine while baking.
- Glitter Finish: Mix glitter into the dough for a sparkly effect. Just not too much unless you want to find glitter everywhere until the end of time.
- Herb-Infused: Add dried herbs for a rustic look, like rosemary. It’s like a fancy restaurant, but in ornament form.
Serving it Up Nicely
Not that you’re eating these, but presenting them is key! Use twine or ribbon to hang ornaments. Display them on a tree, or if you’re feeling avant-garde, hang them from a curtain rod. Bonus points if you actually use them as Christmas gifts.
Keeping it Yummy: Storage Tips
Store these masterpieces in a dry, cool place. Wrap them in tissue paper to prevent accidental breakage. They’ll last for years if Sparky doesn’t get to them first.
Quick Q&A (Things You Might Wonder)
- “Can I eat these?”: Uh, no. Unless you like eating salt bricks.
- “What if they’re still soft?”: Back in the oven they go, but keep an eye on them.
- “Help, they cracked!”: Try a little water and re-bake. Or embrace the rustic look.
- “Why are they puffy?”: Too thick or too much water. Aim for thin and even next time.
- “Can I microwave them?”: I wouldn’t. Unless you want a science experiment gone wrong.
Wrapping Up Our Baking Chat
So, there you have it. Salt dough—cheap, cheerful, and full of potential for both fun and flour-covered mishaps. If you’ve got kids, it’s a win. If you don’t, well, it’s still a win because who doesn’t love an excuse to play with dough? Go on, try it. And remember, perfection is overrated.
Final Thoughts From My Brain
So, after spending an afternoon knee-deep in flour and water, I can honestly say this salt dough recipe is a keeper. It’s messy, it’s fun, and it’s got that handmade charm that you just can’t buy in a store. Plus, there’s something deeply satisfying about creating something with your own two hands—even if it’s just a slightly wonky star that looks like it’s had a rough day.
Whether you’re making these with kids or just embracing your inner child, I hope you find a little joy in the chaos. And hey, if your first batch ends up as a salty crumbly mess, just remember: it’s about the journey, not the destination. Now, go forth and bake some memories (and maybe clean up the kitchen after). Happy crafting!
Salt Dough Recipe
Equipment
- Rolling Pin
- Cookie Cutters
Ingredients
Salt Dough
- 1 cup flour all-purpose
- 1/2 cup salt
- 1/4 to 1/2 cup water lukewarm
Instructions
- In a large bowl, mix together the flour and salt.
- Slowly add the lukewarm water while stirring and mixing the ingredients.
- Knead the dough for about 10 minutes, or until it has an even consistency.
- Roll out the dough to about 1/4 inch thickness.
- Use cookie cutters to create desired shapes or ornaments.
- Bake at 200 degrees F (100 degrees C) for about an hour, then carefully turn the ornaments and bake for another hour.
- Check for doneness, and if needed, bake for an additional hour, checking periodically.